
How to build a unified campsite dashboard: Monitor solar and water from your phone

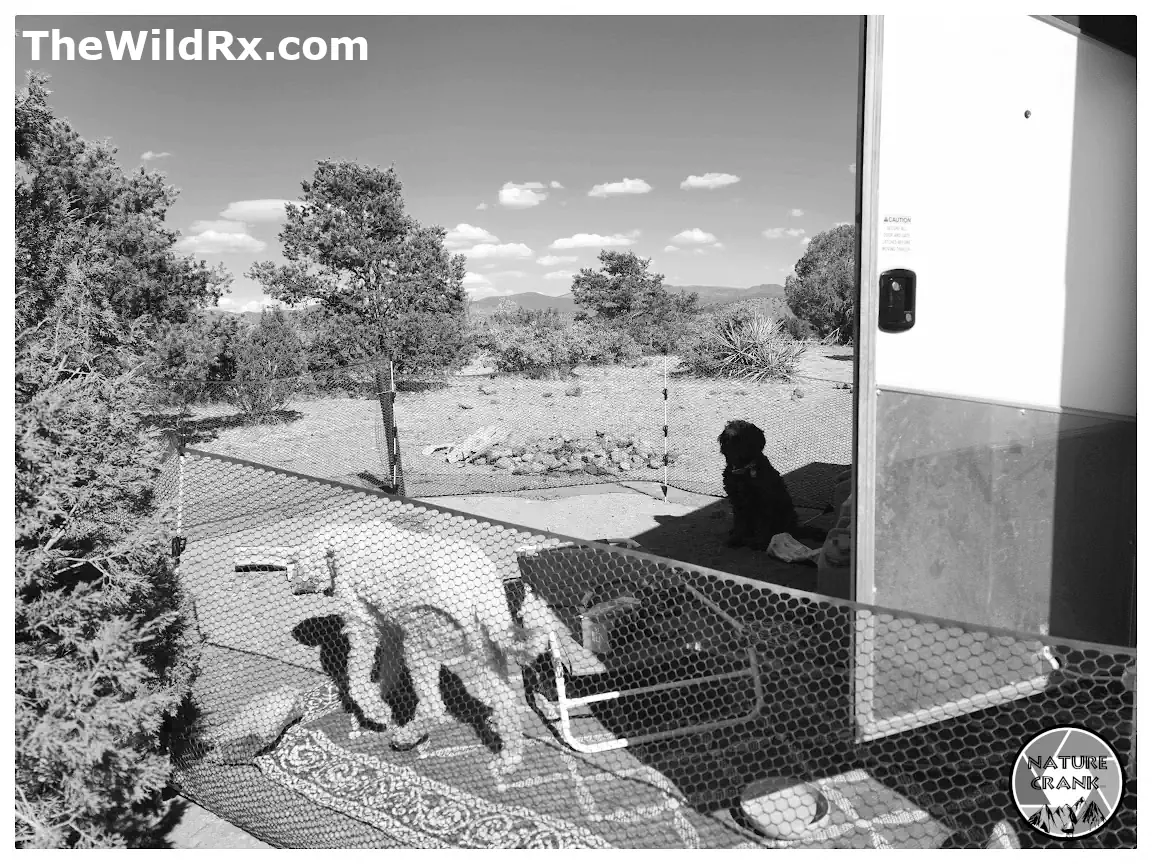
If you enjoy trekking outside in the middle of a rainstorm just to check if your gray tank is full, feel free to skip this guide. For the rest of us who prefer drinking coffee in bed while checking our off-grid power management stats, let’s talk about building a unified dashboard.
Relying on old-school gauges often means playing a guessing game with your RV energy system. A unified dashboard on your phone provides instant visibility into your solar charge controller data, battery state of charge (SOC), and fresh/gray/black water levels, helping you avoid that dreaded “dry camp disaster” where you run out of power or water in the middle of nowhere.
Why monitor solar and water levels remotely at your campsite
Modern remote RV monitoring isn’t just for tech nerds; it’s about peace of mind. By centralizing your data, you stop treating your camping setup like a mystery box.
- Real-time alerts: Get notified before your battery dips below 20% or your black tank reaches capacity.
- Historical data: Track your solar panel efficiency over time to see how different weather conditions impact your boondocking duration.
- Remote access: Check your status from the hiking trail or the local pub if you have cellular or Wi-Fi connectivity.
- Equipment longevity: Proper battery management significantly extends the life of your expensive lithium or AGM banks.
- Water conservation tracking: Monitor usage patterns with an RV tank level monitoring app to stretch your fresh water supply on long boondocking trips. For learning how to deal with water challenges, see our guide, “Water challenges while off-grid camping.”
Components for your custom campsite dashboard
You don’t need to monitor everything to have a great setup. Think of these components as a menu—pick the ones that solve your specific headaches. You need a way to sense the data, a way to connect it, and a platform to view it. Here is the gear you can mix and match to build your perfect dashboard:
| Category | Recommended hardware | Purpose |
| Power monitoring | Victron SmartShunt or similar | Measures current, voltage, and SOC |
| Solar input | Bluetooth-enabled charge controller | Monitors panel output in real time |
| Water levels | Ultrasonic or pressure sensors (e.g., Mopeka) | Non-contact tank level measurement |
| Connectivity | Bluetooth-to-Wi-Fi bridge or IoT gateway | Pushes sensor data to the cloud |
| Central platform | RV Whisper, Home Assistant, or Ubidots | Unified mobile interface |
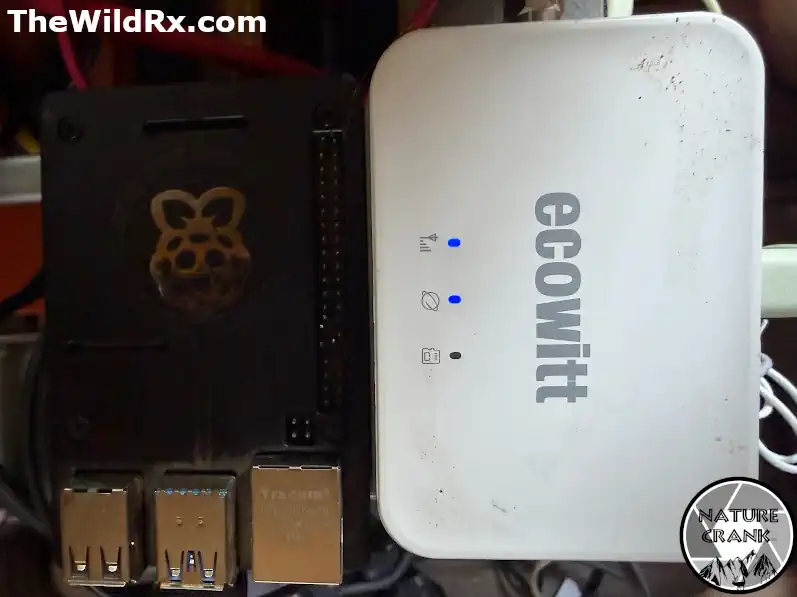
My custom setup uses a Raspberry Pi as a central hub alongside an Ecowitt gateway for monitoring temps and humidity inside and out. This creates an effective boondocking battery monitor setup paired with wireless RV water tank sensors.
Step-by-step guide to building your unified dashboard
1. Assess your setup
List exactly what you want to monitor. Are you tracking just the basics, or do you want to monitor every single light circuit? Identify your current 12V system layout before buying hardware to avoid compatibility headaches. Personally, I keep my setup streamlined by focusing strictly on my electrical system and weather station. I’ve become pretty good at guesstimating my water levels the old-fashioned way, so I saved my budget for more robust battery monitoring—but if you prefer to have every data point at your fingertips, adding tank sensors is a breeze.
2. Install power sensors
Wire a smart battery shunt directly to your negative bus bar to accurately measure your battery’s true SOC. If you have an existing solar charge controller with Bluetooth, ensure it can talk to your chosen gateway.
3. Add water level sensors
Forget the drill-through sensors that leak. Use non-contact ultrasonic sensors; they mount to the outside of your tanks and provide surprisingly accurate readings without the risk of an internal tank mess.
4. Choose a central platform
If you want “plug-and-play,” platforms like RV Whisper are the gold standard—err, the top choice—for an all-in-one RV tank level monitoring app. If you are a glutton for punishment and love tinkering, a Raspberry Pi running Home Assistant offers infinite customization.
I personally run my setup on a Raspberry Pi 4 (now available as the Raspberry Pi 5) paired with Victron gear. It’s a bit more work to set up, but the level of control over your off-grid power management is unmatched. However, if you can find the 4, you’ll still need to buy a memory card and an aluminum case. The upgrade includes all of this in the kit and is a bit more powerful.
Setting up a Raspberry Pi for Victron integration
If you want to go the DIY route using a Raspberry Pi 5, you are essentially building your own “brain” for your RV. Here is the general flow of how to get it talking to your Victron equipment:
- Install Home Assistant: Flash the Home Assistant OS onto a high-quality microSD card or, even better, an SSD (Home Assistant writes a lot of data, and SD cards can fail over time).
- Enable the MQTT Broker: Inside Home Assistant, install the “Mosquitto broker” add-on. This acts as the “post office” that allows your Victron data to talk to your dashboard.
- Prepare your Victron GX device: Ensure your Victron system (like a Cerbo GX or a Raspberry Pi running Venus OS) has “MQTT on LAN” enabled in the services menu. This allows the system to broadcast its data to your local network. I don’t have a Cerbo, so I had to run Venus.
- Connect the integration: Use the official “Victron GX” integration in Home Assistant. You’ll need the IP address of your Victron device, which you can find in your router’s settings or on the Victron screen itself.
- Visualize your data: Once the entities appear in Home Assistant, use the “Energy Dashboard” or a custom “Gauge Card” to visualize your battery state, solar input, and consumption.
5. Connect and configure
Pair your devices via Bluetooth to your gateway. Once you have a data stream, configure your alerts. Set notifications for low battery or full tanks so you aren’t constantly staring at your screen.
Best practices for reliable campsite monitoring
- Protect the goods: Use waterproof enclosures for any hardware mounted under your trailer. Road grit and moisture are the enemies of electronics. My guide “The ultimate guide to wildlife safety & pest management for off-grid RV living” covers how to keep rodents from chewing through your newly installed sensor wires.
- Calibrate, don’t guess: Always verify your sensor readings against a physical multimeter or a measuring stick during your first few test runs.
- Manage your power draw: Ensure your monitoring system consumes less power than it saves you by keeping you efficient.
Frequently asked questions
Take control of your off-grid adventures
Building a unified campsite dashboard transforms your RV or tent setup from a guessing game into a precise, data-driven system. Whether you start with a simple battery shunt or go all-in with a full-blown custom Home Assistant hub, the result is the same: less time troubleshooting and more time enjoying the view. Even with the best tech, boondocking can get tough when the weather turns; if you find yourself hitting a wall, take a look at The 90-day wall: Why you want to quit RV life (and how to fix it) for some perspective on the ups and downs of life on the road.
Found this guide helpful? Please share it with your favorite camping group or fellow boondockers who are tired of checking tank levels in the dark. If you have a specific sensor setup that you swear by, leave a comment below—I’d love to hear how you’ve optimized your own rig.
Discover more from The Wild Rx aka NatureCrank™
Subscribe to get the latest posts sent to your email.