Mastering landscape photography composition: Essential techniques for stunning images
When you face a breathtaking landscape, it is easy to snap away and hope the camera captures the magic. Yet, too often, the final image feels flat—lacking the depth, scale, and the mood of the scene you experienced in person.
Mastering landscape photography composition is the difference between a simple digital snapshot and a shot worth printing. Settings like aperture and shutter speed capture the light, but composition dictates how the viewer experiences the scene.
Why composition matters more than technical perfection
A technically perfect, razor-sharp photo can still feel empty without a thoughtful visual arrangement. Composition is the language of your photograph; it guides the viewer’s eye, establishes scale, and evokes a specific mood.
Strong composition involves deliberate, subtractive choices: deciding exactly what to include in the frame, where to place your focal point, and—more importantly—what to leave out. By mastering these principles, you transform your approach to any location.
Core elements of strong landscape composition
Every successful landscape photograph is built upon three key principles. Incorporating these into your workflow will create the depth and visual flow necessary to stand out.
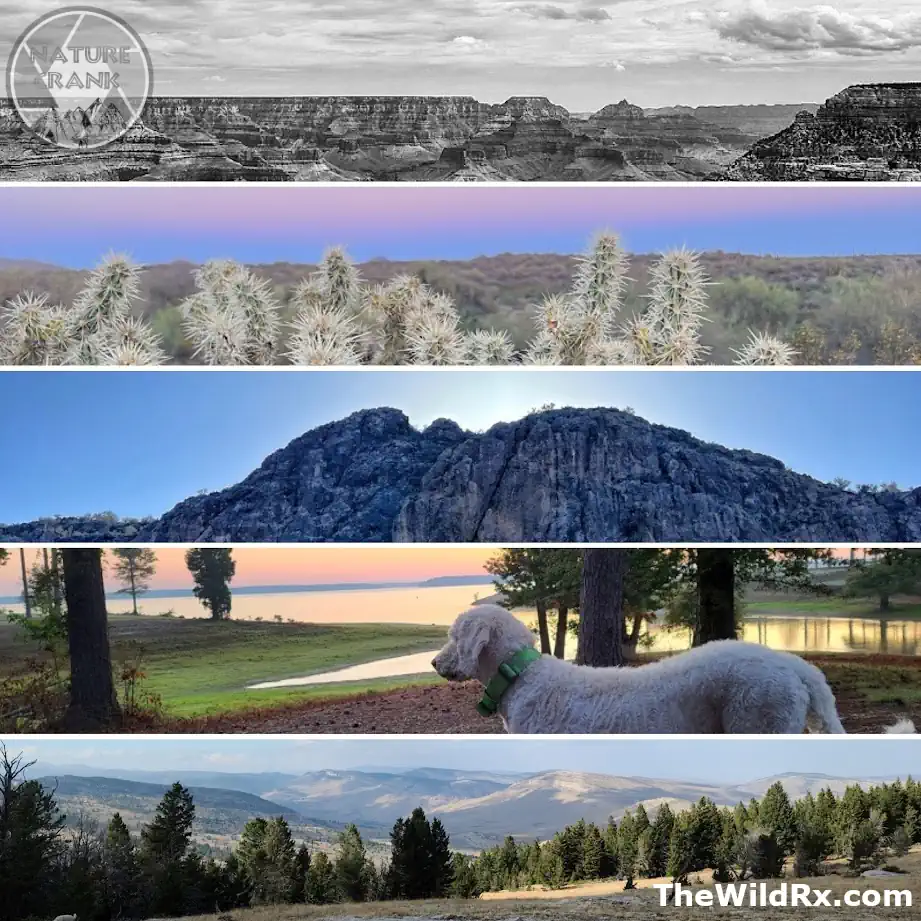
1. Foreground interest: Creating scale and depth
A powerful foreground anchors the viewer and provides immediate entry into the frame. Without it, distant mountains or vast skies can feel disconnected and two-dimensional.
- Actionable tip: Look for natural elements like rocks, wildflowers, flowing streams, or fallen logs. If you are looking for specific ways to apply this in the wild, check out my guide on how to photograph mountains and forests for practical examples of these elements in action.
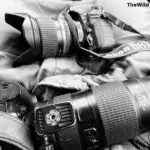
- The technique: Use a wide-angle lens and lower your tripod—and if you’re still using a flimsy starter model, remember that it is often a better investment to buy your last tripod first, as cheap alternatives often fail exactly when you need them most. This exaggerates the size of nearby objects, creating a natural sense of scale that highlights the vastness of the background. This also works in videography. If you’re building out your kit, I’ve broken down the essential camera gear for landscape photography—focusing specifically on what’s worth the investment and what you can skip.
- Aperture size: A common mistake is shooting with a wide aperture (like f/2.8) when you want the whole scene sharp. For landscapes, I typically set my aperture between f/8 and f/16. This increases your depth of field, ensuring that the foreground rocks and the distant peaks remain crisp. If you’re unsure, take three shots of the same scene: one at f/5.6, one at f/11, and one at f/16. Reviewing them side-by-side on your computer is the fastest way to train your eye for how depth of field changes your final image.

A quick note on the learning curve:
Many people dive into photography books and get completely overwhelmed by the technical side—they see too many settings and just end up quitting. Please, don’t let that happen to you. If you feel like your brain is hitting a wall, take a breath. You don’t have to memorize everything at once, and you don’t have to be perfect!
If you find yourself struggling to retain the technical side, try these three simple, proven ways to make it stick:
- Space repetition: Review your notes a few days after you shoot, rather than all at once.
- Mnemonic devices: Create simple phrases to remember your settings (e.g., “Small aperture, big landscape” for f/11).
- Active recall: Before you press the shutter, ask yourself out loud: “Why am I using this aperture?”
As an instructor and a photographer, I have seen that learning is the same across the board. The goal is to move these settings from your “conscious effort” to “muscle memory.” Just keep showing up.
The pressure to perform: Art vs. social media
Beyond the technical hurdles, there is a quieter, more insidious challenge: the pressure of the “social media feed.” Platforms like X and Instagram have created an environment where photographers feel they must post daily to remain relevant. In reality, that pace is the enemy of artistry.
If you look at the greatest photographers in history, they weren’t churning out content; they were waiting for the light, scouting for weeks, and often walking away with only one or two “keepers” after thousands of shutter clicks.
Please, release yourself from the demand for constant output. Social media has increasingly turned photography into a competition of frequency rather than a pursuit of vision. On top of this, the rise of AI-generated skies and “composite” elements—images that never existed in reality—has made it harder to value the authentic, patient process of being in the field.
Remember, your camera is a tool to document the world you see, not a factory for digital fabrication. Photography is meant to be a personal, grounding art form. Do not let the digital noise of the internet drown out your reason for picking up the camera in the first place. You can read more here: The pressure to perform: Balancing authentic photography and social media
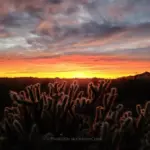
2. Leading lines: Directing the viewer’s eye
Leading lines act as a visual path, pulling the viewer’s eye directly to your subject.
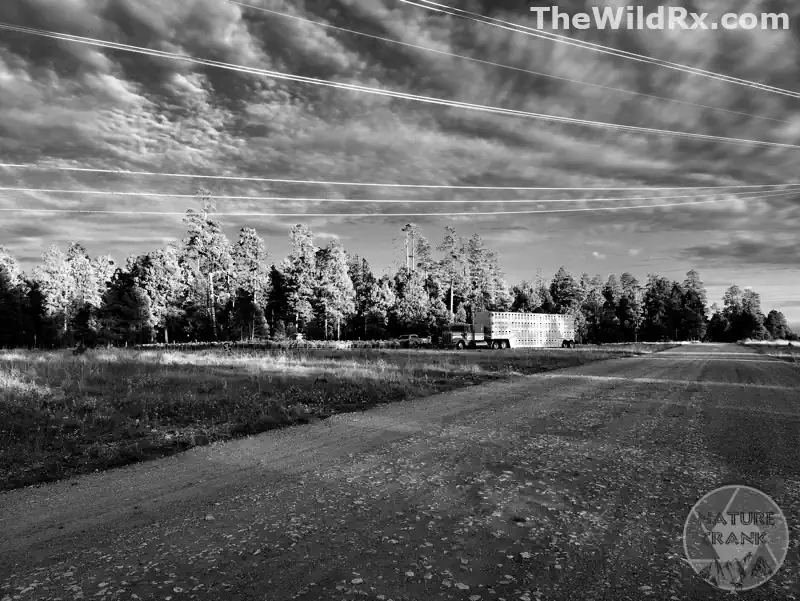
- Natural options: Rivers, winding hiking trails, fence rows, or long shadows cast by the sun. If you want to lean into the drama of these lines, learning the fundamentals of black and white photography is one of the best ways to train your eye to see form and contrast.
- The strategy: Position your leading lines to start in the bottom foreground and guide the eye naturally toward your primary subject or the horizon. Ensure these lines do not lead the viewer out of the frame, but keep them focused on the story you are telling.
3. Perspective and camera position: Changing the story
Staying at eye level often yields standard, predictable results.
- Shift your height: Crouch low to make foreground elements appear monumental.
- Gain elevation: Climb higher for sweeping overviews that illustrate the geography of the area.
- Minor adjustments: Often, taking one step to the left or right, or tilting your camera slightly, can align elements into a more harmonious frame.
Essential composition techniques for landscape photos
Beyond the basics, these professional techniques will add complexity and visual interest to your portfolio.
| Technique | How it helps | When to use |
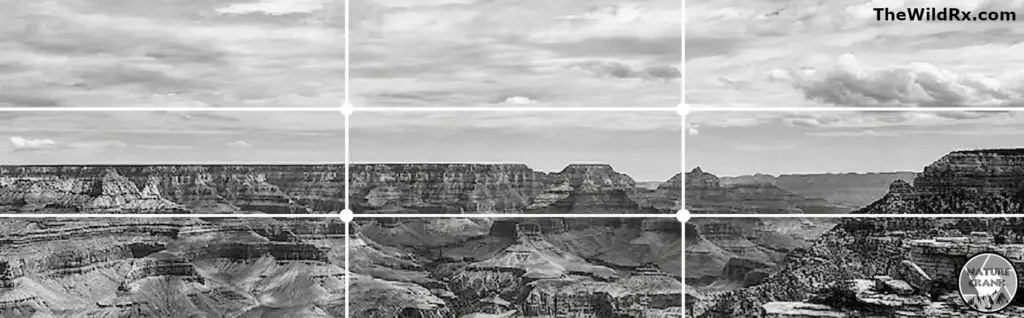
| Rule of thirds | Adds dynamic balance | Most landscapes |
| Layering | Creates three-dimensional depth | Scenes with distinct planes |
| Framing | Adds context and focus | Archways, trees, rock holes |
| Negative space | Provides breathing room | Minimalist scenes |
Landscape photography on your mobile device
Think your phone can’t capture a professional-looking landscape? Think again. While you may not have the luxury of changing your aperture, you have more power than you realize. Modern mobile sensors are incredible, but they require a different mindset to handle the limitations.
How to overcome mobile limitations
- Use a manual camera app: Native camera apps often auto-process your images, which can ruin details in the highlights or shadows. Use apps like Lightroom Mobile, Halide, or ProCam to gain manual control over your exposure and white balance.
- Shoot in RAW: If your phone allows it, always shoot in RAW. It preserves the original data from the sensor, giving you far more flexibility when editing your shadows and highlights.
- Get creative with your “Zoom”: Avoid “digital zoom” at all costs—it just crops and pixelates your image. Instead, use your feet. Physically moving closer to your foreground subject is the best way to get that professional depth.
- The “Tripod” hack: You don’t need a heavy setup. A small, inexpensive smartphone tripod or even propping your phone against a rock helps you slow down, refine your framing, and prevents the shake that ruins long exposures.
Remember: Composition is the same regardless of your gear. Whether you are holding a five-thousand-dollar camera or a smartphone, the principles of foreground interest, leading lines, and perspective remain your most valuable tools.
Troubleshooting common composition mistakes
If your images feel “off,” check them against this table to identify common pitfalls:
| Mistake | Why it hurts the photo | Quick fix |
| Centered horizon | Creates static, boring balance | Place horizon on the upper or lower third |
| No foreground | The image feels “flat” | Incorporate rocks, water, or texture close up |
| Distracting edges | Pulls eye away from subject | Crop or adjust your tripod position |
| Overly busy scene | Overwhelms the viewer | Simplify; zoom in to isolate the subject |
Step-by-step field process
- Scout early: Arrive before the light becomes optimal to map out your composition. If you are shooting in winter conditions, make sure you are prepared with tips for cold weather photography, as protecting your battery and glass is the first step to a successful session.
- Observe first: Spend five minutes looking at the scene without the camera.
- Find your anchor: Identify your foreground element and your primary subject.
- Refine: Set up your tripod. Check the corners of your frame for distractions.
- Wait for the light: Great composition is the frame; light is the final polish. To elevate your images, I highly recommend learning how to shoot during the golden hour. This magical window shortly after sunrise and before sunset provides a warm, soft, directional glow that adds immense depth and dimension to your landscape. If you find that the natural light isn’t enough to convey the scene, learning to work with black and white photography is a fantastic way to focus on the interplay of light and shadow without the distraction of color.
Having the right tools—like a stable tripod or a reliable wide-angle lens—can make these field techniques much easier to execute. If you’re curious about the specific gear I use in the field to get these shots, you can explore my full photography gear recommendations here.
Pro-tip: Capturing the perfect composition is only half the battle. To truly bring those colors and textures to life without over-processing, check out my guide: Beyond the shutter: How to edit landscape photos for a natural, professional look.
Frequently asked questions (FAQ)
Turning your vision into a landscape
Mastering landscape photography composition is a lifelong pursuit, not a one-time lesson. It requires you to slow down, scout the light, and consciously build your scene rather than simply pointing your camera at the horizon. By practicing these techniques—using foreground anchors, intentional leading lines, and purposeful perspective—you will stop documenting what you see and start creating what you feel.
The best way to improve is to get out into the field and experiment. If you’re ready to fill out your bag, check out my full guide on essential photography gear for landscape and wildlife to ensure you have the right tools for your specific style.
Join the conversation: Share your experience
What is your biggest struggle when framing a landscape photo? Whether you find it difficult to find a compelling foreground or you’re still mastering the art of layering, leave a comment below.
If you found these techniques helpful for your next trip, please share this guide with a fellow photographer. Your engagement helps more people find these tips, and I would love to hear which of these compositional elements changed your process the most.
Discover more from The Wild Rx aka NatureCrank™
Subscribe to get the latest posts sent to your email.