Essential repair and maintenance tools for backpacking

Backpacking gear takes a beating. Between abrasive granite, overgrown trails, and the general chaos of living out of a sack, things are going to break. A solid backpacking repair kit is the difference between a quick trailside fix and a miserable, gear-failing trek back to the car. Whether you’re out for a quick overnight or grinding out a thru-hike, the goal is to carry a few high-utility items that keep your kit running without nuking your base weight.
Why you need a backpacking repair kit
Gear always seems to fail at the least convenient moment—think zippers jamming during a downpour or a tent pole snapping in a midnight gust. A DIY ultralight backpacking repair kit usually tips the scales at under 4 ounces but covers almost every common gear catastrophe.
If you’re hiking in a group, don’t double up on everything; split the heavy stuff like multi-tools or full rolls of tape to save weight. If you’re solo, stick to the “multipurpose or bust” rule. You want tools that work for your shelter, your puffy jacket, and your pack all at once.
Core items for your backpacking repair kit
Don’t overcomplicate this. You aren’t building a workshop; you’re building a survival kit for your gear.
- Tenacious Tape or duct tape: Forget standard duct tape if you can; Tenacious Tape is the real MVP for technical fabrics. It doesn’t get gooey in the heat and actually stays stuck to silnylon and high-end shells. Pro tip: Wrap it around your trekking poles or water bottle to save space.
- Zip ties: These are basically plastic magic. Use them to replace a lost hip belt pin, fix a shattered buckle, or even keep a sole attached to a boot. Carry a mix of small and medium sizes.
- Paracord or Spectra cord: 20 to 50 feet of cordage is a non-negotiable. Use it for emergency guy lines, bear bags, or lashing a broken frame. Spectra cord is the go-to for weight-conscious hikers who still need high tensile strength.
- Sewing kit (the heavy-duty version): Ditch the flimsy travel needles. You need a “sail needle” or a heavy-duty upholstery needle and some dental floss or Kevlar thread. If you can’t sew a shoulder strap back onto a pack, your kit isn’t finished.
- Adhesive patches: If you’re using an inflatable sleeping pad, a puncture is an emergency. Carry gear-specific patches (like those from Therm-a-Rest or Sea to Summit) and make sure you have an alcohol wipe to prep the surface.
- Multi-tool with scissors: You need a blade, but honestly, you’ll use the scissors more. They’re essential for trimming tape patches and cleaning up frayed edges on straps.
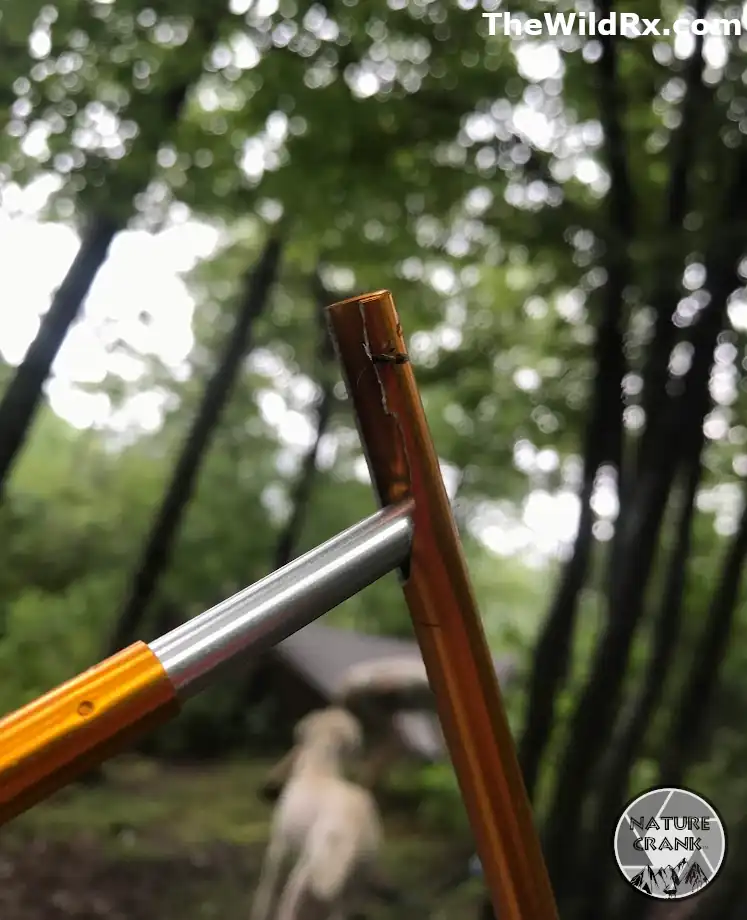
- Tent pole splint: That little silver tube that came with your tent? Don’t leave it at home. If a pole snaps, this is the only thing keeping your shelter from collapsing on your face. It’s not about if as much as when. I have experienced two pole failures in my 30+ years of camping.
- Hygiene and cleaning tools: Carry a compact bottle brush and heavy-duty pipe cleaners (or a flexible snake brush) to remove biofilm and physical debris from bottle threads and hydration tubes. These tools are necessary for mechanical scrubbing, as early mold and bacteria are often invisible to the naked eye.
How to repair common backpacking gear issues on the trail
When things go south, don’t panic. Most trail repairs just require a bit of “hiker ingenuity.”
Fixing a torn backpack or clothing
Dirt is the enemy of any adhesive. Clean the area around the rip as best as you can. If it’s a big tear, sew it shut first using a “box-x” stitch pattern for strength, then slap a rounded patch of Tenacious Tape bigger than the tear over the top to seal it.
Repairing a leaking sleeping pad
Finding a “slow leak” is a nightmare. If you aren’t near a lake to submerge it, rub some soapy water (or even just spit) over the surface and look for bubbles. Once you find the culprit, patch it and—this is key—let it sit for the recommended cure time before you lay your full weight on it again.
Handling a broken tent pole
Slide your repair sleeve over the break and tape it in place so it doesn’t migrate down the pole. No sleeve? Find a sturdy stick or a tent stake, line it up with the break, and mummify the whole thing in tape or cordage. It’s not pretty, but it works.
Backpacking repair kit checklist comparison
Check out how these kits stack up depending on how far you’re going:
| Item | Ultralight (solo/fast) | Standard (weekend/group) | Total weight |
| Repair tape | 12-18 inches | 4–6 feet | 0.2–0.5 oz |
| Zip ties | 2–3 small | 6+ assorted | 0.1 oz |
| Utility cord | 20 feet (Spectra) | 50 feet (Paracord) | 0.5–1.0 oz |
| Sewing kit | Needle + floss | Full kit + safety pins | 0.2–0.4 oz |
| Adhesive patches | 2 pre-cut ovals | Full patch kit | 0.3 oz |
| Multi-tool | Tiny keychain blade | Full multi-tool | 1.0–4.0 oz |
| Total weight | ~1.5–2.5 oz | ~3.5–6.0 oz | – |
Maintenance tips to reduce repairs on backpacking trips
The best repair kit is the one you never have to open. Backpacking gear maintenance is about the boring stuff you do between trips.
- The zipper check: Zips usually fail because of grit. Use an old toothbrush to scrub the tracks after a dusty trip. A little bit of zipper lube goes a long way.
- Dry it out: Never, ever store your tent or sleeping bag while it’s still damp from morning dew. It’ll grow mold that eats through technical coatings faster than you’d think.
- UV protection: Don’t leave your gear baking in the sun for days on end. UV rays turn expensive nylon into brittle tissue paper.
FAQ: Repair and maintenance tools for backpacking
Final thoughts: Build your kit before you need it
At the end of the day, a backpacking repair kit is like an insurance policy: you hope you never have to use it, but you’ll be incredibly glad it’s there when a midnight storm snaps a tent pole. You don’t need to carry a toolbox, but having a few multi-use items like Tenacious Tape, a sturdy needle, and some zip ties can save a trip from an early exit. High-quality backpacking gear maintenance starts at home, but being ready for the “trail happens” moments is what keeps you moving toward the next summit.
What is in your trail repair kit?
We want to hear from the experts in the dirt. Is there a “secret weapon” tool you never leave home without? Have you ever performed a legendary trailside repair with nothing but a zip tie and some dental floss?
Drop a comment below and share your best gear-saving hacks. If you found this guide helpful, share it with your hiking crew so everyone stays prepared on your next group trek!
Discover more from The Wild Rx aka NatureCrank™
Subscribe to get the latest posts sent to your email.