How to photograph mountains and forests: Essential landscape photography tips
Capturing the majesty of high-altitude peaks is a study in scale, while the quiet complexity of woodland canopies demands a completely different set of eyes. Many photographers struggle to translate the awe they feel on the trail into a compelling final image.
Whether you’re heading to the high peaks or spending your weekend wandering local woodlands, these techniques will help you move beyond snapshots and start coming home with gallery-worthy prints.
Many photographers struggle to translate the awe they feel on the trail into a compelling final image. Before focusing on specific environments, it helps to have a firm grasp on the core principles of visual design. If you’re new to the craft, I recommend reading my full guide to mastering landscape photography composition to build your foundation before diving into these specific woodland and mountain techniques.
Why mountains and forests require different approaches
Both visualizing and realizing the character of your subject is the first step toward better compositions.
- Mountain photography is defined by open vistas, dramatic light play, and a need to convey massive scale. The challenge is often avoiding a “flat” image by establishing a clear foreground.
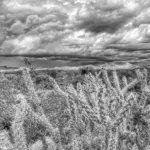
- Forest photography is an exercise in isolation. With dense foliage and repetitive patterns, the difficulty lies in decluttering the scene to guide the viewer’s eye toward a specific subject.
The blueprint of a great landscape
Understanding the fundamental character of your subject is the first step toward better compositions.
Before you get distracted by technical settings like aperture and iso, remember that every great landscape is built on a simple, intentional design. Think of your composition as a “blueprint”—it doesn’t matter if you are sketching with a pencil or shooting with a high-end camera, the rules of visual storytelling remain the same.
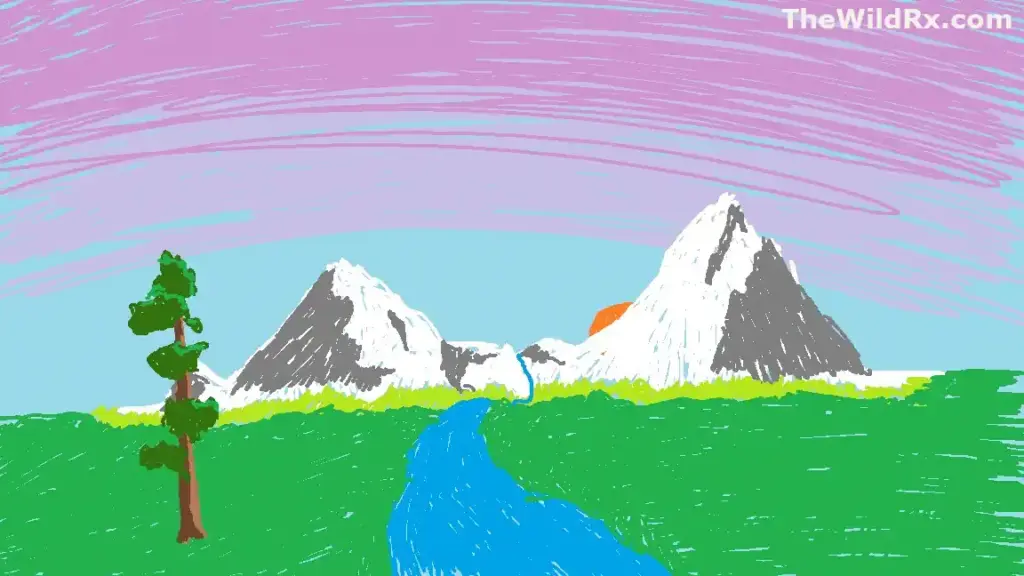
If you can simplify your scene into these basic shapes before you press the shutter, you’ll find that the ‘chaos’ of the wilderness suddenly makes perfect sense.
Where landscape meets wildlife
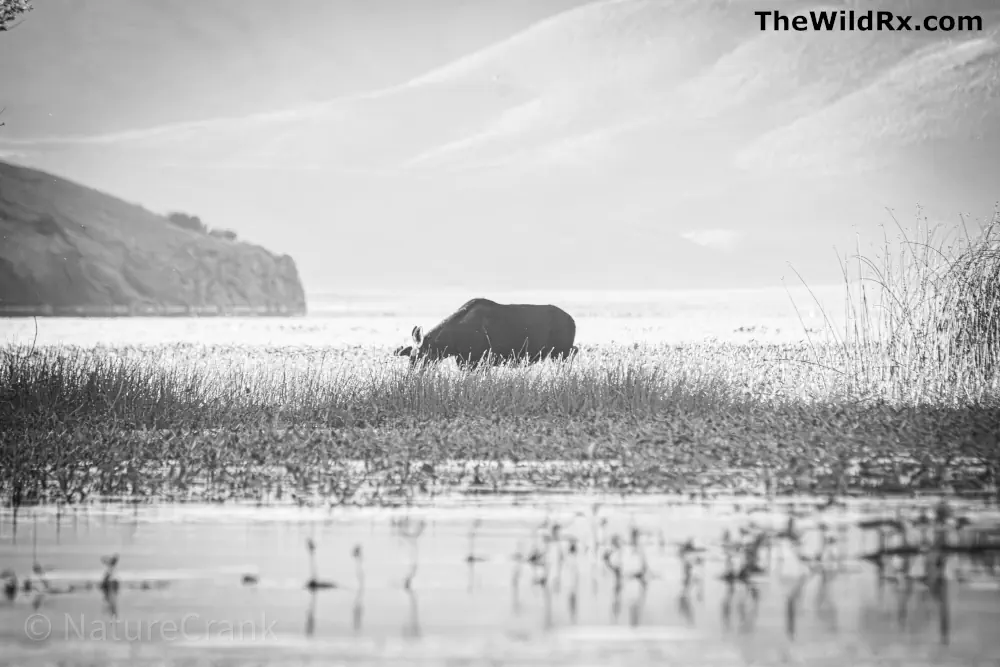
Many photography guides treat landscape and wildlife photography as two separate worlds, but they are most powerful when they intersect. Adding a subject—whether it is a person in a bright jacket or local wildlife—can provide the sense of scale that a pure landscape often lacks.
In my moose photo at the top, I was faced with a choice: I could have a grainy picture of the moose because he was out of reach, or I could share the story. On another note, not every picture is going to be a “banger.” Social media has led us down a strange road where accounts that post multiple perfect shots every single day are often heavily editing their photos, stacking images from different days, or using AI.
If you are waiting for the perfect light on a mountain range, keep your telephoto lens ready. A moose in a marsh or a bird in flight can transform a static vista into a living, breathing scene. When you include wildlife, treat the animal as part of your “blueprint”—it becomes the focal point that guides the viewer’s eye through the vastness of the terrain.
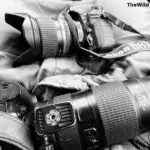
Best gear for mountain and forest photography
You don’t need a massive kit to get started, but specific tools help manage the unique lighting conditions of these environments. If you are still building your collection or wondering which investments will actually improve your photography, check out my guide to essential camera gear for landscape photography before spending your budget on unnecessary accessories. You can also view all my recommended gear in my Amazon storefront; purchasing here helps support my work.
| Gear Item | Purpose |
| Wide-angle lens (16–35mm) | Captures the expanse of mountain ranges and immersive forest scenes. |
| Telephoto lens (70–200mm) | Compresses mountain layers and isolates distant forest subjects. |
| Sturdy tripod | Essential for long exposures, low-light forest interiors, and focus stacking. |
| Circular polarizer | Reduces glare on wet leaves and deepens blue mountain skies. |
| Graduated ND filters | Balances the extreme contrast between bright skies and dark landscapes. |
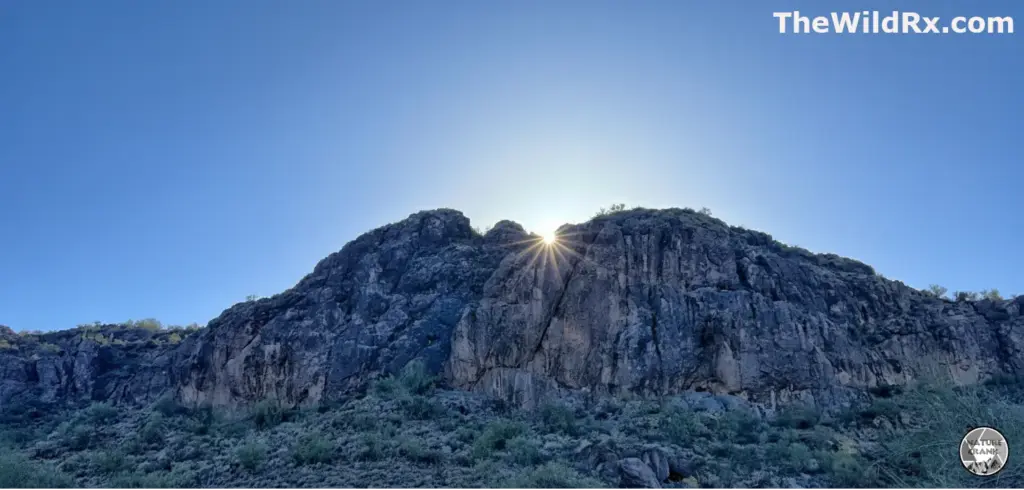
How to photograph mountains: Capturing scale and drama
Mountains reward bold compositions. When the scene is vast, your goal is to draw the viewer into the frame. But also think about the story you are going to tell; sometimes, pictures are less about pure beauty and more about the narrative, such as in a blog post about a hike.
Leverage wide-angle perspectives
Use an ultra-wide lens (18mm or wider) to include a strong foreground—such as wildflowers, jagged rocks, or an alpine stream. This technique creates a sense of depth, bridging the gap between the viewer and the distant peaks.
Use telephoto compression
While wide angles are great for scale, a telephoto lens is your best tool for drama. By zooming in, you can compress multiple ridges against a massive peak, making the mountains appear even more imposing and layered.
Master the light
Mountain light changes rapidly. Use apps like PhotoPills, Sun Surveyor, Alpenglow, and The Photographer’s Ephemeris (TPE) to predict sunrise and sunset angles. Aim for the “golden hour” to capture side-lighting, which emphasizes texture and ridges. If you are shooting snow-capped peaks, slightly underexpose your shot to preserve highlight details. If you want to be precise about the sun’s position, you can use a professional planning tool like The Photographer’s Ephemeris to predict exactly how the light will interact with the terrain.
I’ve spent countless evenings waiting for the sun to hit the ridges, and I’ve learned that the best shots happen minutes after you think the light faded. If you want to dive deeper into the technical settings for these conditions, check out my full guide on How to shoot during the golden hour: A photographer’s guide to perfect light.
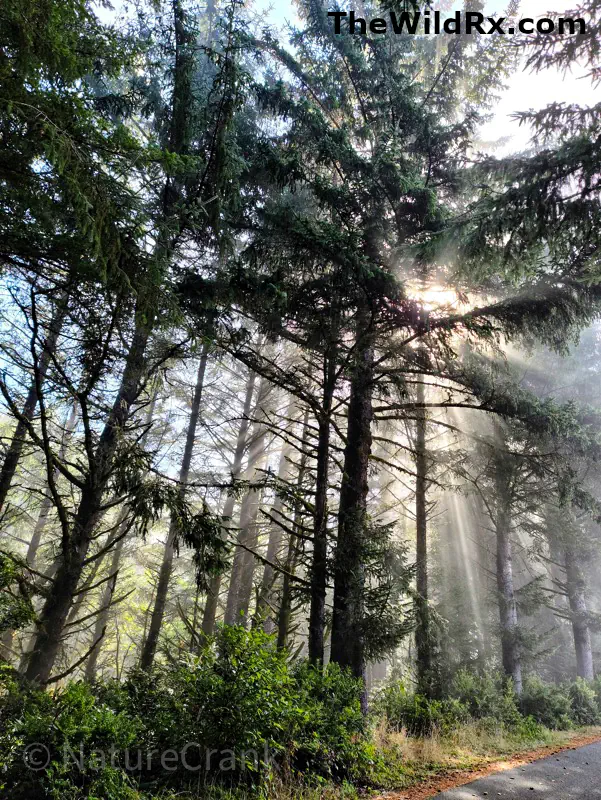
How to photograph forests: Finding depth and intimacy
Forest photography is often about subtracting elements rather than adding them.
Create a compelling foreground anchor
In dense woods, look for textures on the forest floor—mossy rocks, ferns, or intricate root systems. Position your camera low to the ground to make these small elements appear prominent, leading the viewer into the depths of the trees.
Use natural leading lines
Trails, winding streams, or fallen logs are nature’s own visual guides. Align your camera so these lines pull the viewer’s eye from the foreground into the heart of the forest.
Simplify the clutter
If a scene feels too busy, use a longer focal length to isolate a single tree or a patch of color. Alternatively, shoot toward a light source to create a “backlit” effect, which can silhouette branches and create a moody, dreamlike atmosphere.
Editing and lighting tips for forests
While shooting is the first step, the unique lighting of a forest often requires some extra care in post-processing. Here are three secrets to elevate your woodland images:
- The shadow/highlight balance: In forests, the contrast between a bright patch of sky peaking through the trees and the dark forest floor is often too much for a camera sensor to handle in a single shot. Bracketing (taking three exposures: dark, medium, and bright) and merging them in post-processing is a life-saver for keeping those highlights from blowing out while retaining detail in the shadows.
- The micro-contrast secret: For forests, instead of just relying on the polarizer, try increasing the “texture” or “clarity” sliders slightly in your editing software to help define the layered, intricate patterns of bark and moss, which can look a bit muddy if the light is too flat.
- The golden hour shift: The “golden hour” is actually quite tricky. The low angle of the sun often creates long, distracting shadows that slice through the composition. Sometimes, the best forest shots happen in the “blue hour” or deep shade, where the soft, diffused light brings out the saturation in the greens and browns without harsh contrast.
While these in-field adjustments are vital, the true magic often happens at your desk. If you want to master the digital side of the craft, check out my guide on how to edit landscape photos for a natural, professional look to ensure your final images match the beauty of the original scene.
Advanced techniques for professional results
- Focus stacking: In landscape photography, foreground-to-background sharpness is key. Take several shots at different focus distances and blend them in post-processing for edge-to-edge clarity. Adobe’s own tutorial is a great resource if you are new to the blending process.
- Long exposures: Use a tripod to capture motion in mountain streams or to turn misty forest air into a soft, ethereal fog.
- Panoramas: When a single frame cannot capture the scale, take a series of overlapping shots and stitch them together to preserve high resolution and a wider field of view.
Landscape photography gear
Landscape photography is as much about tools as it is about vision. While a sharp eye is your most important asset, the right equipment can make or break a shot in challenging conditions. To help you build a kit that actually improves your output without breaking the bank, I’ve detailed my essential camera gear for landscape photography here, including the lenses and filters I rely on to tackle both high-altitude peaks and dense woodland canopies.
Frequently asked questions
Conclusion: Elevate your landscape photography
Learning to balance the scale of mountain ranges with the intimate chaos of deep forests takes practice, but it is one of the most rewarding challenges in nature photography. By focusing on intentional composition, choosing the right focal length to suit your environment, and managing light effectively, you can transform ordinary scenes into evocative stories. Remember that every great landscape image begins with observation—take your time to scout the terrain, find your anchor, and wait for the perfect moment.
Join the conversation
What is your biggest struggle when shooting in the wilderness? Whether you are a fan of wide-angle mountain vistas or prefer the quiet complexity of a woodland floor, share your experiences or your favorite “pro tip” in the comments below. If you found this guide helpful for your next photography adventure, please share it with your fellow hikers and photographers!
Discover more from The Wild Rx aka NatureCrank™
Subscribe to get the latest posts sent to your email.