Proper sizing and fitting: The ultimate guide to backpack comfort
Whether you’re section hiking a local trail or tackling a grueling thru-hike, a properly fitted pack is the difference between striding in comfort and wincing in pain. If you’ve ever wondered why your shoulders ache after only three miles, the culprit is likely a sizing mismatch.
This post will dive into the technical side of sizing and fitting your backpack to ensure your gear supports your journey rather than hindering it.
Why backpack sizing matters more than brand
Most hikers buy gear based on brand reputation or price. However, the best backpack is the one that matches your torso length, not your height.
Backpacks typically come in small, medium, and large. Unlike a t-shirt, these sizes correspond to the distance between your neck and your hips. If the frame is too long, the pack will pull away from your shoulders; if it’s too short, the weight will crush your traps.
How to measure your torso length at home
Before shopping for Osprey, Gregory, or Deuter packs, you need your “torso number.” Follow these steps:
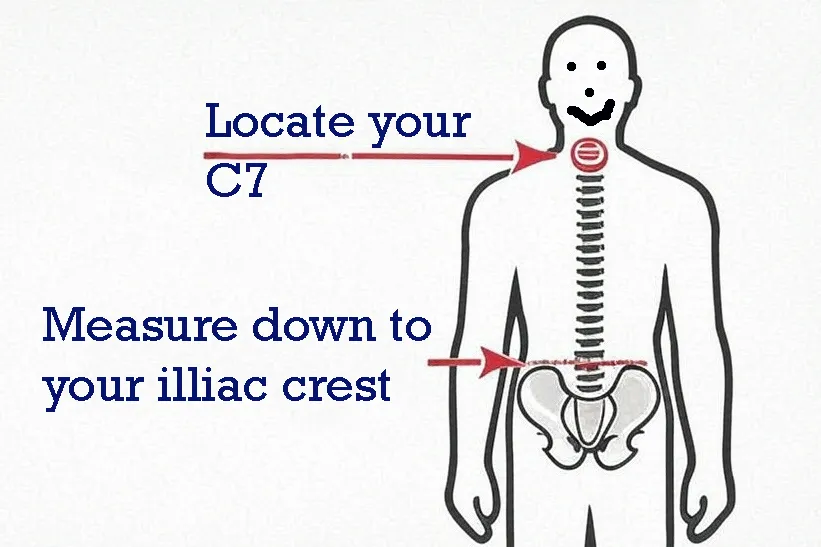
- Locate the C7 vertebra: Tilt your head forward and feel for the bony bump at the base of your neck.
- Locate your iliac crest: Place your hands on your hip bones, pointing your thumbs toward your spine. This shelf is your iliac crest.
- Measure the distance: Have a friend use a flexible tailor’s tape to measure from the C7 down the curve of your spine to the point between your thumbs.
| Torso length | Common pack size |
| 15″ – 17″ | Small |
| 18″ – 19″ | Medium |
| 20″ – 22″+ | Large |
Pro tip: Always check the specific manufacturer’s size chart. A “Medium” in a Gregory pack may differ from a “Medium” in an Osprey.
Measuring your hip size
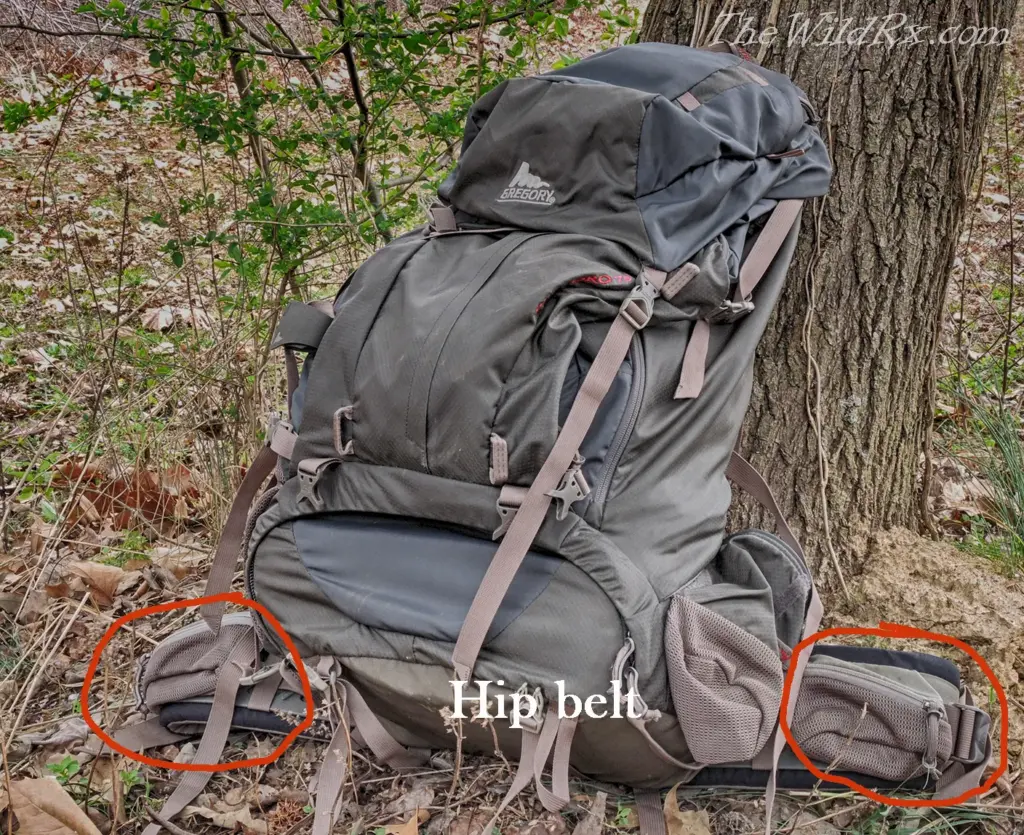
While torso length determines the frame size, your hip measurement determines the hip belt size. Most of your pack’s weight (approx. 70-80%) should rest on your hips.
- How to measure: Wrap your tape measure around the top of your hips (the iliac crest). This is usually higher than your pants’ waistline.
- The gap rule: When tightened, the padded sections of the hip belt should have a 3 to 6-inch gap between them over your buckle. If the pads touch, the belt is too large and won’t transfer weight effectively.
How to adjust your backpack in 4 easy steps
Before adjusting, add 15–20 pounds of weight to the bag. An empty pack sits differently than a loaded one, and adjusting a “ghost” pack will result in a poor fit on the trail.
1. The hip belt (your primary support)
Tighten the hip belt so it cups your iliac crest. It should feel snug but not pinching. If the belt sits too high or low, readjust your shoulder straps to reposition the pack on your back.
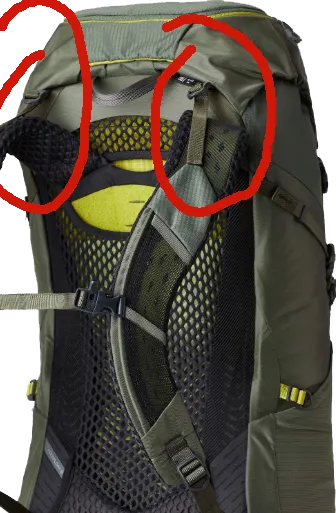
2. Shoulder straps
Tighten these until they wrap closely around your shoulders. They should follow the contour of your back without a gap, but they shouldn’t be carrying the weight. The strap anchors should sit 1 to 2 inches below the top of your shoulders.
3. Load lifters (the 45-degree rule)
These straps connect the top of the shoulder harness to the pack frame.
- The Goal: Tighten them to pull the weight of the pack toward your center of gravity.
- The Angle: Ideally, these should sit at a 45-degree angle. If they are too flat or too vertical, your torso length might be incorrect. A common mistake is over-tightening load lifters until they create a gap between your shoulder and the strap. If you see a ‘tunnel’ over your shoulder, loosen them slightly.
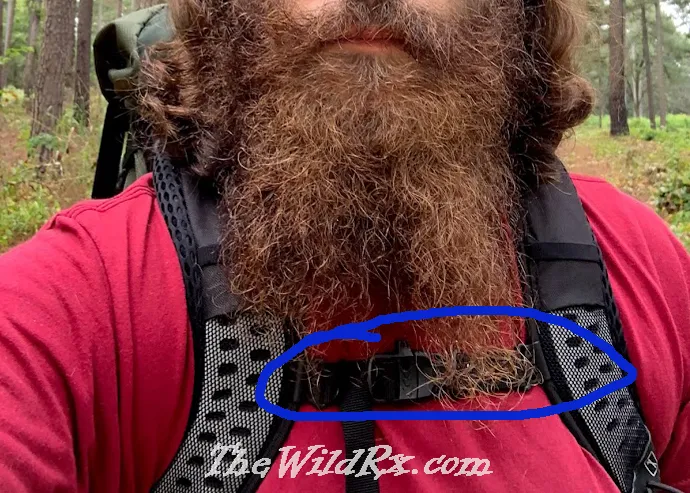
4. Sternum strap
Slide the sternum strap until it sits about one inch below your collarbone. Tension it just enough to pull the shoulder straps inward, allowing your arms to move freely without the straps slipping off. If it’s too tight, it will restrict your breathing.
Frequently asked questions about backpack fitting (FAQ)
Final thoughts for the trail
A backpack is your most intimate piece of gear. By measuring your torso and fine-tuning your load lifters, you transform a heavy burden into a seamless extension of your body. Remember to readjust your straps every few miles—as your load shifts or your clothes compress, a quick “tweak” can prevent a hotspot from becoming a blister.
Want to see these steps in action? Check out this expert fitting guide from Osprey Packs:
Discover more from The Wild Rx aka NatureCrank™
Subscribe to get the latest posts sent to your email.