Cold weather photography: Tips for protecting gear and capturing snow
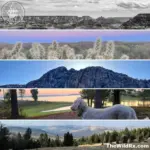
Winter landscapes offer a breathtaking perspective, turning familiar scenes into ethereal masterpieces. However, winter photography presents unique challenges, from “tricking” your camera’s light meter to preventing permanent gear damage from moisture.
This guide covers the essential techniques and protective measures you need to master outdoor photography in the cold.
Quick tips for winter photography
- Exposure: Increase exposure compensation by +1 or +2 stops to keep snow white instead of gray.
- Focus: Use manual focus or single-point AF if falling snow causes your lens to hunt.
- Condensation: Seal your camera in a Ziploc bag before going indoors to prevent internal moisture.
- Battery: Keep spare batteries in an inside pocket; cold temperatures drain them rapidly.
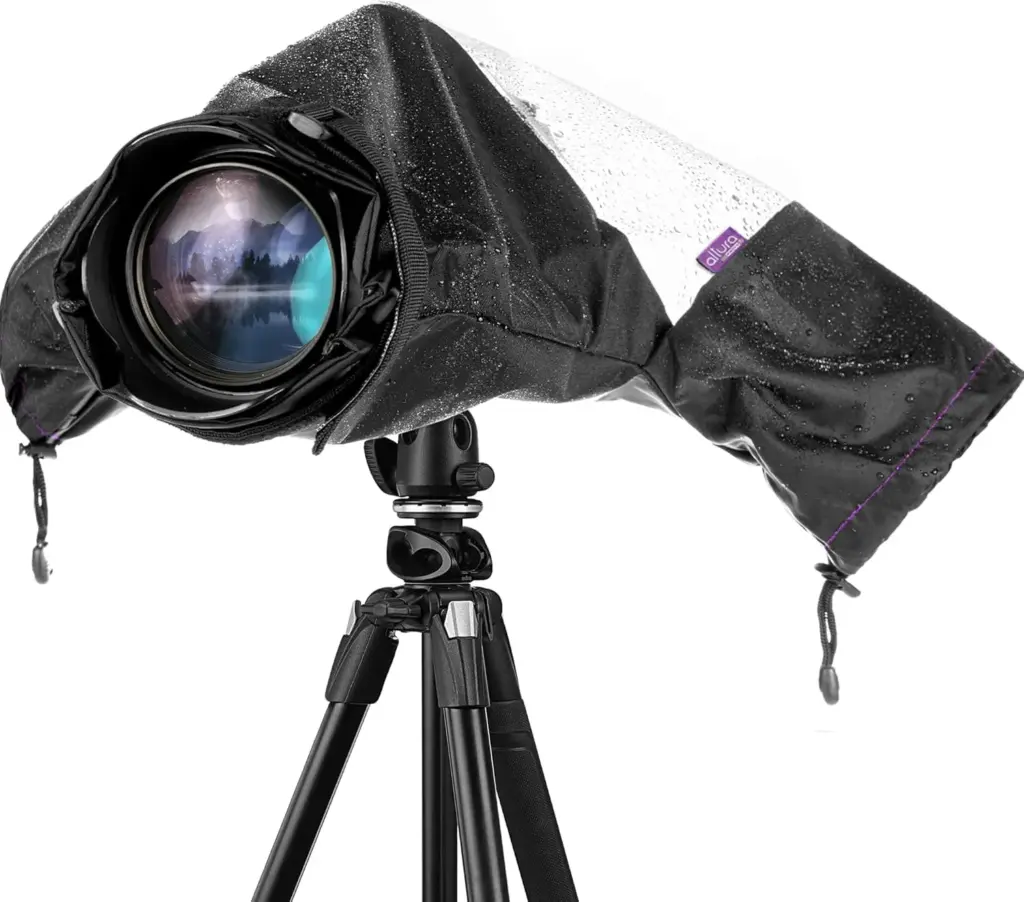
- Protection: Use a rain cover for non-weather-sealed gear and avoid touching metal tripod legs with bare skin.
- Clothing: Wear a three-layer system (moisture-wicking base, insulating mid, waterproof shell) and avoid cotton. Read, How to properly layer for your winter backpacking trip for more on layering.
Mastering camera settings for snow and ice
Standard camera sensors are designed to see the world as “18% gray.” When your frame is filled with white snow, your camera thinks the scene is too bright and automatically darkens it, resulting in muddy, gray photos.
Metering and exposure compensation
- The “Plus One” rule: To keep snow looking white, use exposure compensation. Increase your exposure by +1 or +2 stops.
- Shoot in RAW: Always record in RAW format rather than JPEG. This provides the dynamic range needed to recover highlights in the snow and adjust white balance in post-processing tools like Adobe Lightroom.
- Matrix (Evaluative) metering: Use your camera’s multi-zone metering mode to help the processor balance the bright snow against darker subjects.
How to achieve sharp focus in low-contrast winter scenes
Falling snow and heavy fog can cause your lens to “hunt” for focus.
- Switch to manual focus: If autofocus struggles with falling flakes, use Manual Focus (MF) and your camera’s “focus peaking” or “magnification” tool to lock onto your subject.
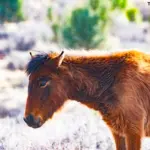
- Back-button focus: This is a game-changer for winter wildlife photography. By separating the focus trigger from the shutter button, you can track moving animals across white landscapes without the camera refocusing on the snow in the foreground.
- Single-point AF: Avoid wide-area autofocus. Use a single, central focus point to target high-contrast areas, such as where a dark tree trunk meets the snow.
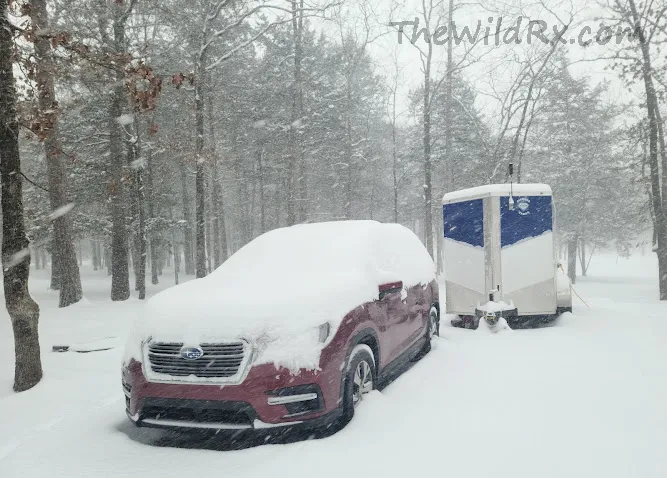
Essential gear protection for freezing temperatures
Your camera is a precision instrument. Below freezing (32°F/0°C), the mechanical and electronic components require extra care.
Winter photography gear checklist
| Accessory | Why you need it |
| Spare batteries | Cold weather drains Lithium-ion batteries significantly faster. |
| Microfiber cloths | To wipe away melting snowflakes and condensation. |
| Rain cover | Protects non-weather-sealed bodies from wet snow. |
| Gallon-sized Ziploc bags | Essential for preventing condensation when moving indoors. |
| Lens hood | Acts as a physical shield against falling snow hitting the glass. |
Check out the Altura Photo Professional Rain Cover for large Canon & Nikon DSLR Cameras for $21.99.
Battery management in the cold
Chemical reactions inside batteries slow down in low temperatures. To maximize shooting time:
- Keep spares warm: Store extra batteries in an internal pocket close to your body heat.
- Swap frequently: If your active battery dies, swap it with a warm one. Often, the “dead” battery will regain some charge once it warms up.
Learn more about how cold temperatures affect Lithium-ion batteries.
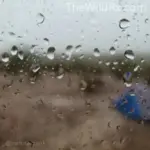
The “Ziploc trick”: Preventing camera condensation
The biggest threat to your gear isn’t the cold—it’s the heat. When you bring a freezing camera into a warm room, moisture from the air instantly condenses inside the lens and body. This can lead to internal mold or short-circuited electronics.
The Solution: Before entering a building or a heated car, place your camera inside a sealed plastic bag while still outside. Once indoors, let the camera reach room temperature before taking it out of the bag. The condensation will form on the outside of the plastic rather than on your sensor.
Dressing for the elements: The three-layer system
You cannot take great photos if you are shivering. Follow the professional “layering” method to stay dry and warm:
- Base layer (Moisture-wicking): Use synthetic fabrics or Merino wool. Never wear cotton, as it holds sweat and will make you colder.
- Mid layer (Insulation): A fleece or down jacket to trap body heat.
- Outer shell (Protection): A windproof and waterproof jacket to block biting winter winds and melting snow.
- Gloves: Look for “photographer gloves” with flip-back fingertips, allowing you to adjust dials without exposing your entire hand.
Frequently asked questions about winter photography
Final thoughts
Winter photography is about patience and preparation. By overexposing your shots slightly to keep the whites bright and using the “bagging” method to avoid condensation, you’ll capture professional-grade images while keeping your gear in top shape.
Discover more from The Wild Rx aka NatureCrank™
Subscribe to get the latest posts sent to your email.